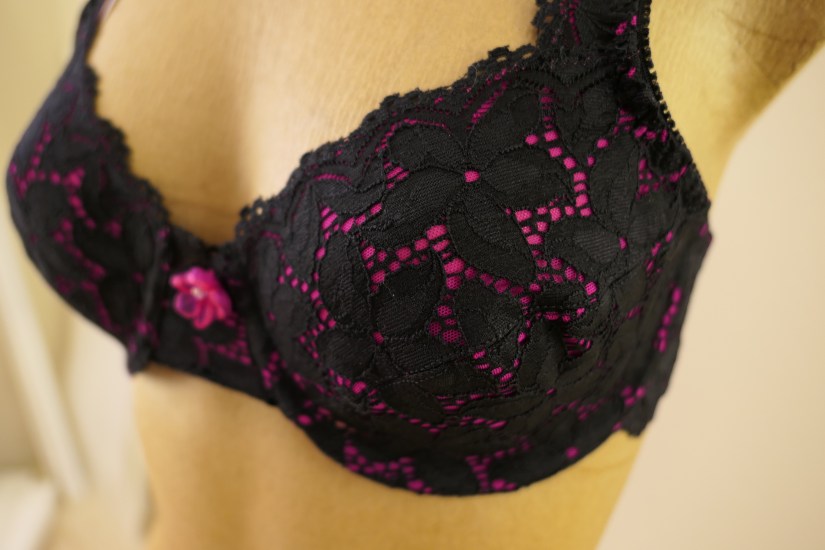
Hot off my sewing machine! I just finished a partial-band bra and pantie set made from black stretch galloon lace and fushia powernet that I purchased a few months ago at the Fabric Outlet in San Francisco. I love the way these two fabrics look together and both are easy to sew. The plush strap and picot elastics, hook and eye closures and the rings and sliders are from the Tailor Made Shop. This is shop always provides the highest quality products. I love how this new bra and panties set look!
I made the bra first. I drafted this partial-band bra pattern starting with a Pin-up Full Band Bra pattern by Beverly Johnson, aka The Fairy Bra Mother, that fits me well. Next I modified this pattern specifically for using scalloped lace.
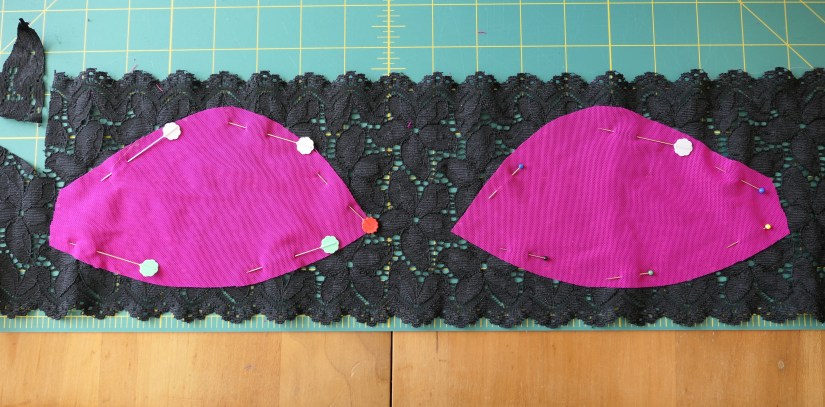
The key to success with a lace bra is in getting the lace placed just right on the cups, bands and bridge. Lace placement is critical so that the bra looks symmetrical; the lace on one side of the bra should mirror the other. When sewing lace on to a lining, it tends to shift around and therefore the lace and lining need to be sewn together before the piece is cut. To start, I cut the pattern pieces from the lining, which is powernet in this case, and use these pieces as the pattern for the lace. Next, I pin the powernet pieces over the galloon lace so that they are in just the right position. I roughly cut out the lace, sew 1/4″ around the powernet pattern, attaching the lace to the powernet. Once I confirm that the placement of the lace and powernet are attached correctly, I cut the lace around the powernet pattern.
It’s a bit of work to get the lace around the top of the bra, consistently of the upper cups, bridge and strap attachments, to line up perfectly. The lace on the top of the bridge has to line up perfectly with the lace on the upper cups, as does the lace on the strap attachment pieces. Keep in mind that there are also 1/4″ seam allowances to account for. Again, the trick to getting the lace placed just right on the bridge is to place the bridge pattern piece on a larger piece of lace to get it in the right position. Then use the “stitch and flip” method to attach a similar dimension of the powernet. Sew both sides of the bridge, and then cut out bridge piece. This process keeps the pieces stable and in exactly the right placement, prior to cutting. I have more pictures detailing lace layout for the upper cup in a previous post on making a lace bra .


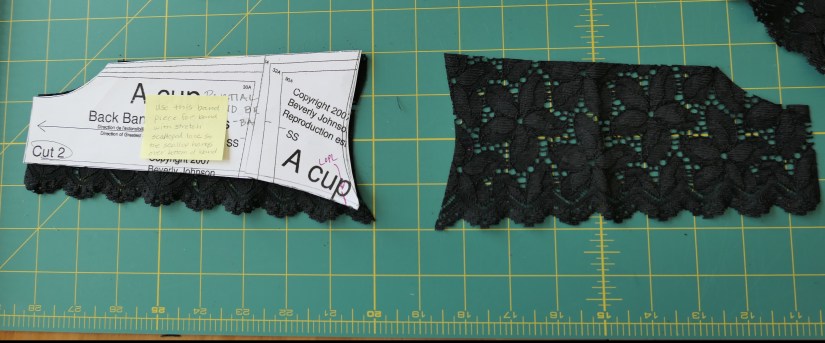
I used the same method for cutting out the lace band pieces.
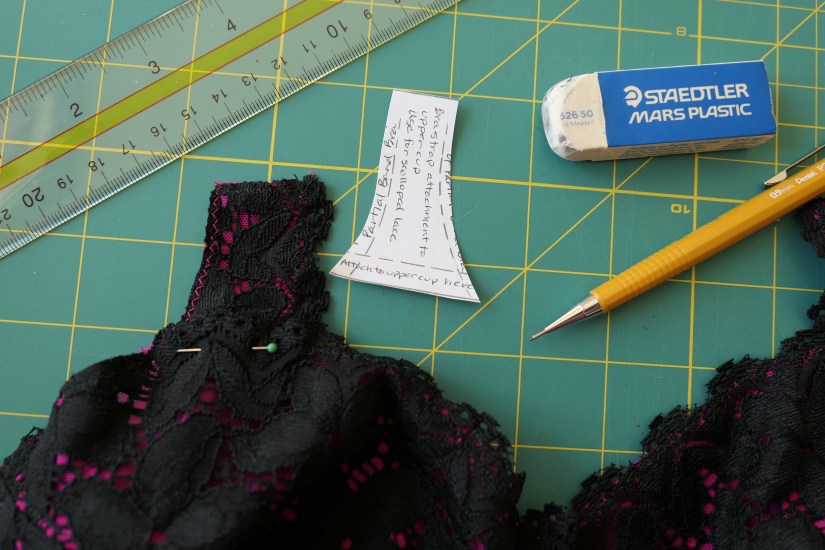
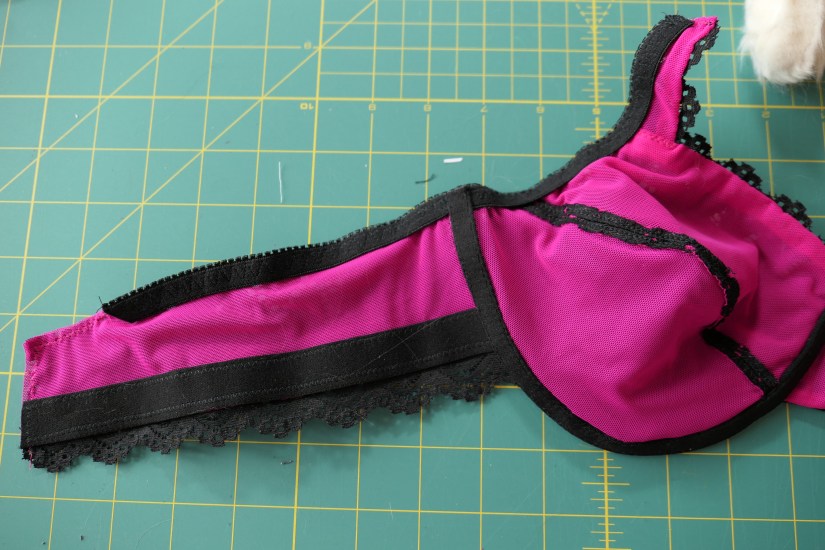
I used the same method to cut the lace and line the strap attachment piece as I did for the bridge piece. The lace along the top of the bra lines up nicely.

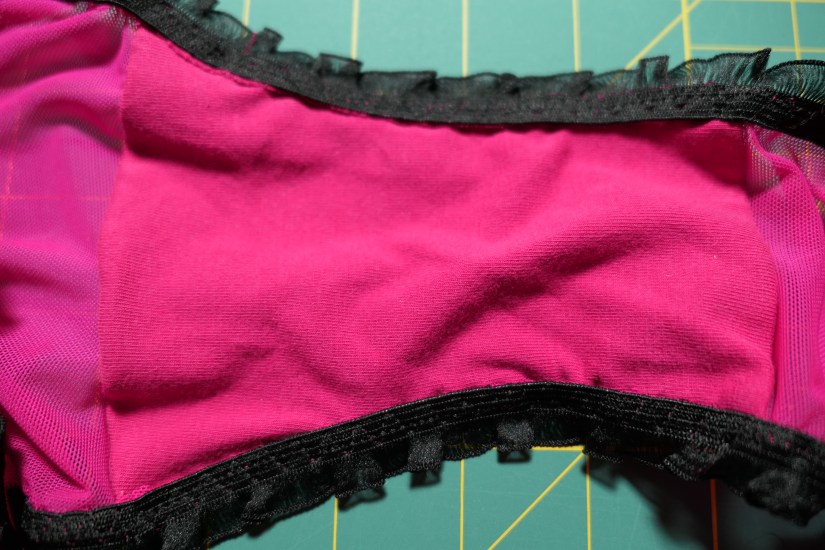
The inside of the bra looks clean and neat. Yes, that is a paw. Kitty, Sophie, does a quality assurance inspection of the bra as each step is finished.
Next I made the panties. I used Kwik Sew K2325, view A, for pattern.
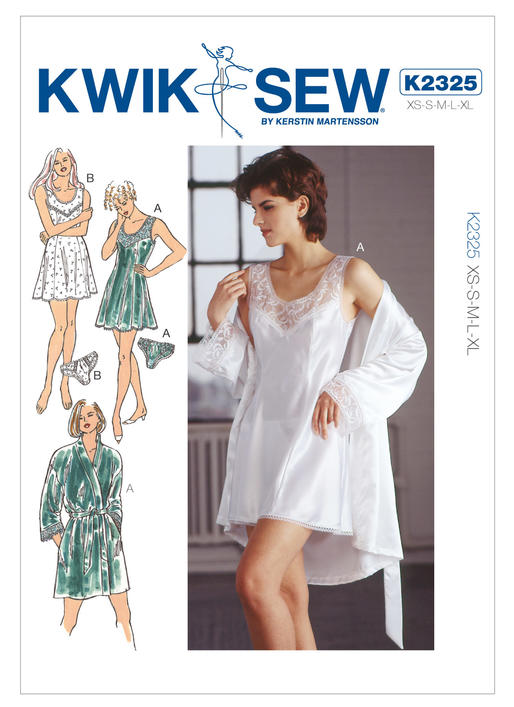
I cut a XS pantie, view A, for the pantie. I did a bit of design modification to create an illusion of one piece of the scalloped edge of the galloon lace across the top of the pantie.
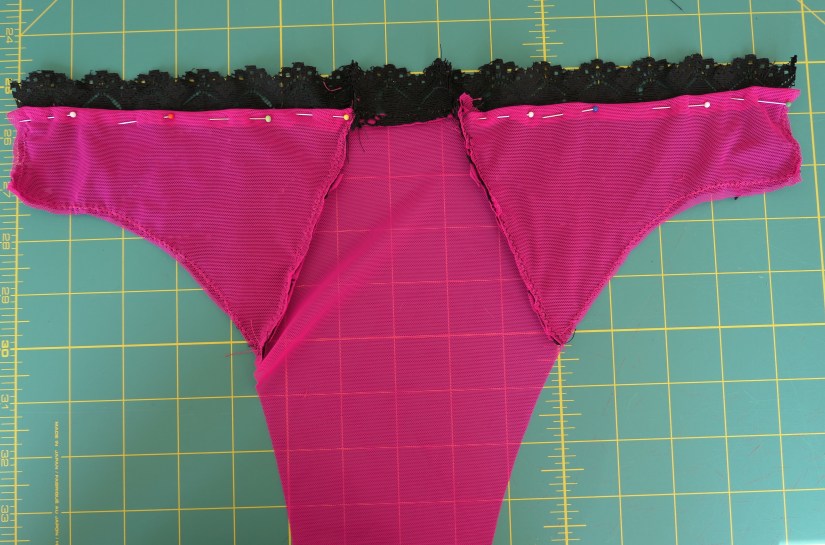
I created the lace portions of the panties in the same method as for the bra. I cut the powernet pattern pieces and then determined the correct placement on the lace, sewed the powernet pieces onto larger lace pieces and then cut the lace and powernet pattern piece.
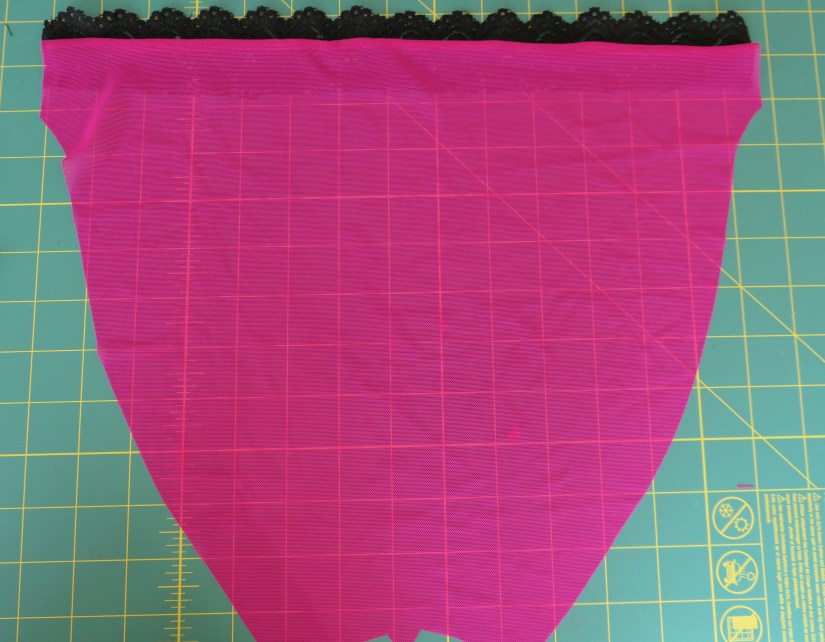
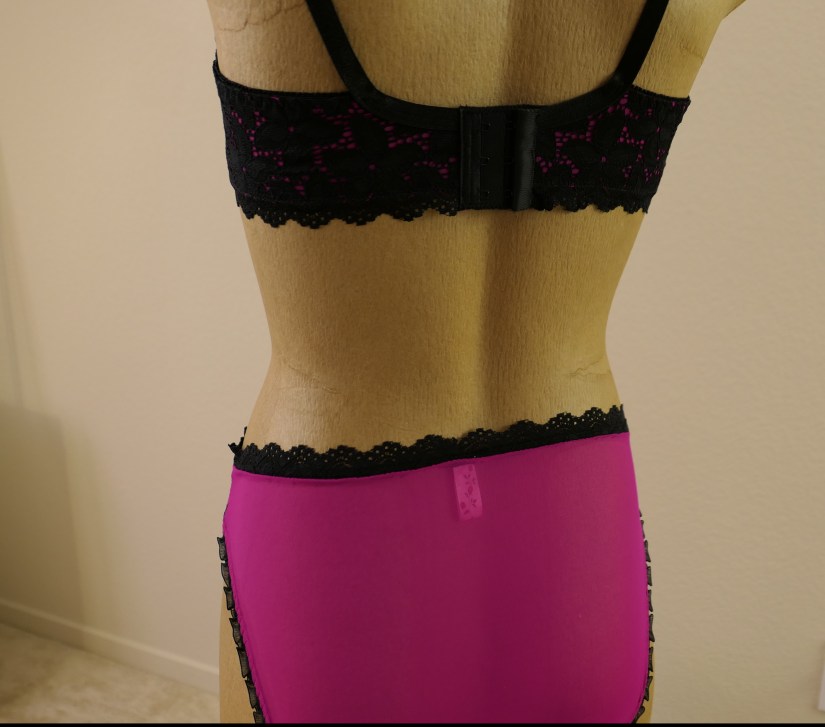
This is the back of the pantie where I used the scalloped edge of the galloon lace to create a border at the top to match the front of the pantie.
I used cotton knit for the crotch lining, exactly the same color as the powernet. I used the “burrito method” to attach the crotch lining, and this is described in the pattern instructions.
And finally, a back view of the bra and pantie set.
Thank you for reading through my review of these patterns and descriptions of how I made this bra and pantie set. Now on to garment sewing! I’ll be making a few bodysuits and a blouse before we head off on our trip to France!
Here is kitty Sophie, taking a break from her QA duties!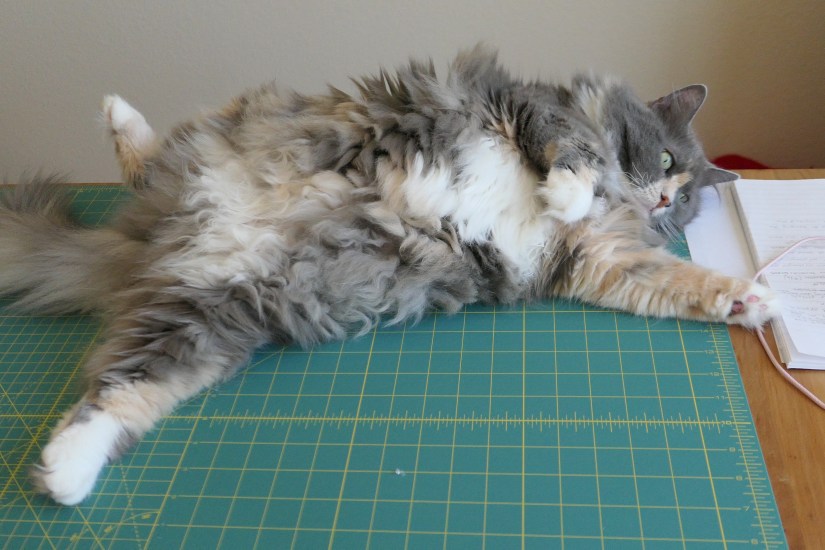
Your thoughts and comments are always welcome!


Absolutely beautiful bra and panty set! Love the hot pink and black and your attention to detail! Great job!
LikeLike
Thank you, R.A.H.!
LikeLike
That’s a gorgeous set! isn’t it awesome to be able to make exactly what you want?!!! And then when it fits better than what you can buy, that’s just icing on the cake. Some of my bras are getting quite worn and it’s getting time for some new ones. Thanks for the inspiration.
LikeLike
Thanks so much! I really enjoyed making it and will enjoy wearing it. Thanks for visiting!
LikeLike